It’s been great getting feedback on the new Learning Space design since we upgraded on the 4th. We’ve been taking on board any feedback and answering questions where they’ve arisen. As a result we figured it could be useful to share some tips and tricks.
Customising your view of modules
Following the recent upgrade to Learning Space the guidance below shows you how to access, organise and sort your modules for easy access.
Access my modules
To access your modules, click the Learning Space logo (top left).
This will take you to My Modules which is effectively the new home page.
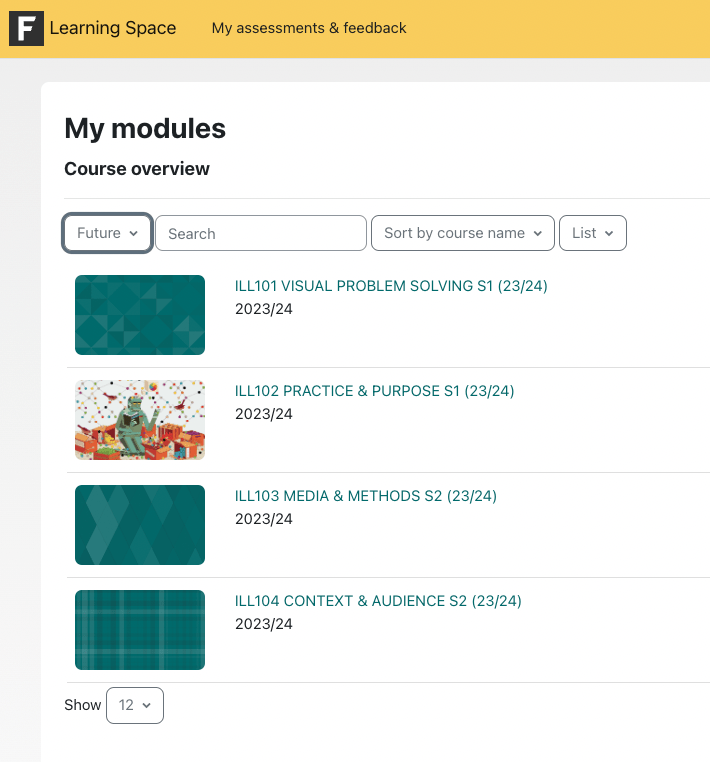
Once on your My Modules page there are a number of filters that you can use to find the modules you are looking for.
Filter modules
The default view in My Modules displays ‘All’ courses that you are subscribed on but can easily be filtered to show courses that are ‘In progress’, ‘Future’, ‘Past’ or ‘Starred’.
To apply a filter, click ‘All’ and select the option you want. This will filter out other courses making it easy to locate the courses you are looking for.
Search for a module
Enter the name of a course into the Search box to retrieve it.
Sort courses
You have the option to sort courses on your My Modules page by name or last accessed.
Star courses
If you are enrolled on lots of courses the ‘Star’ option is a great feature to use to reduce the number of courses displayed on your My Modules page. You can ‘Star’ any courses that you are enrolled on regardless of whether they are in progress, future or past, so it’s a useful option if you need regular access to specific courses.
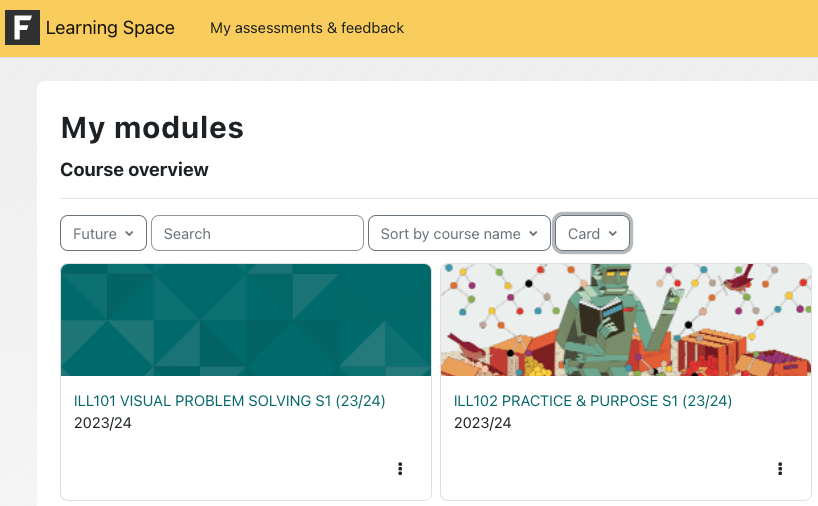
To ‘star’ a course, click the 3-dot icon and select ‘star this course’.
Note: If your courses are displayed in Card view, the icon will be in the bottom right corner of the tile, if in List view it will be at the end of the row.
An important thing to point out if you do use the ‘Star’ option, is that you will need to ‘Star’ all courses that you want to appear in my Modules as only ‘Starred’ courses will be displayed.
Customise your module thumbnail image
Learning Space now allows you to set images that are visible in staff and student My Module pages.
- Style of Image
We suggest that you avoid any busy images – simpler images will often be more effective. - Copyright
Ensure you own copyright for the image you use or that it is available under a suitable licence e.g. Creative Commons. - Relevance
Make sure the image is relevant to your module so as not to confuse staff or students. - File Size
Ensure your image isn’t too large in terms of file size or resolution and is appropriate for your module. Images should have a minimum width of 1024 pixels but no more than 2000 pixels - Aspect Ratio
Images should have a 2.7 : 1 aspect ratio. The width of the image should be about 2.7 times the height. You can achieve this using the ‘crop’ tool using photoshop or similar applications. If your image is taller or shorter it might get cut off at the bottom or side.
How to change the thumbnail
If you are a member of staff and wish to do this follow this steps
- Go into one of your modules and turn edit mode on

- Go to settings

- Upload an image in the Module Summary Files section under Description.

Sample thumbnail image
You can use the following image as a template / guide for size and dimensions from which to create your own module thumbnail. Right click to save a copy of it. The size is 1350px x 500px
